How to Use Sealing WaxComplete guide to formulas, formats, tools, and cleanup
Sealing wax works best when you match the formula and format to what you are making. Flexible resin-blend wax bends through the mail, while traditional shellac wax snaps cleanly for hand-delivered pieces. Whether you melt beads in a spoon, load a low-temperature glue gun, or light a wicked stick, the core rhythm stays the same: gentle heat, a centered pool, a vertical press, and clean release.
 Play tutorial
Stationery designer Katrina Crouch walks beginners through the complete sealing wax workflow—from choosing tools and melting wax cleanly to stamping and lifting a crisp impression.
Choose, melt, stamp, and clean up
- Compare flexible vs. brittle wax and pick beads, sticks, or pre-made seals.
- Use a spoon for small runs and color mixing, a low-temp gun for batches, or a wick for quick letters.
- Form one centered pool, dry your chilled brass stamp, and lift vertically once firm.
- Wipe the spoon while warm, clean stamp residue safely, and protect mailed seals.
1. Choose the right sealing wax formula and format
Start with the wax formula. Modern flexible sealing wax blends resin and polymer so the finished seal bends without cracking—essential for mailed letters and invitations. Traditional brittle wax uses shellac and rosin for a crisp, glossy snap, making it better suited to hand-delivered notes, certificates, and keepsake boxes.
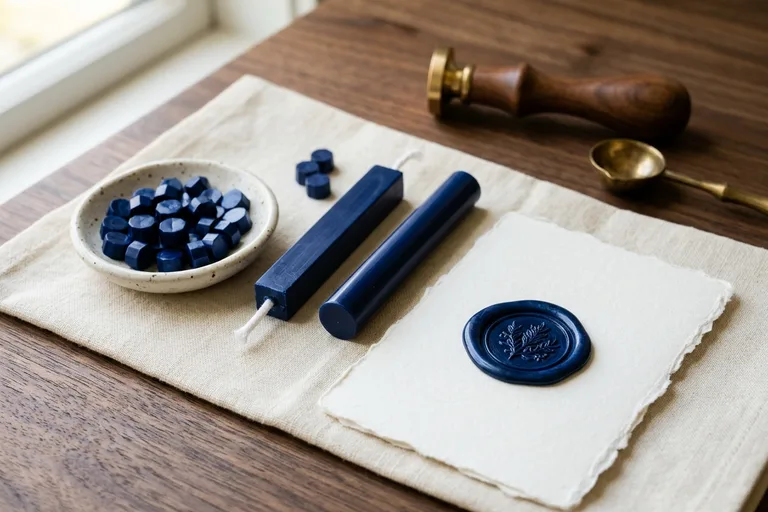
Next, pick the format that fits your workflow. Octagonal wax beads are easy to count and blend into marbled colors in a spoon—follow our guide to stamping letters with a melting spoon. Wax sticks come in wicked, wickless, and low-temp glue-gun formats covered in how to use a wax seal stick. If you want to skip melting altogether, start with finished seals and read how to apply wax seals.
2. Match your melting tool to your project size
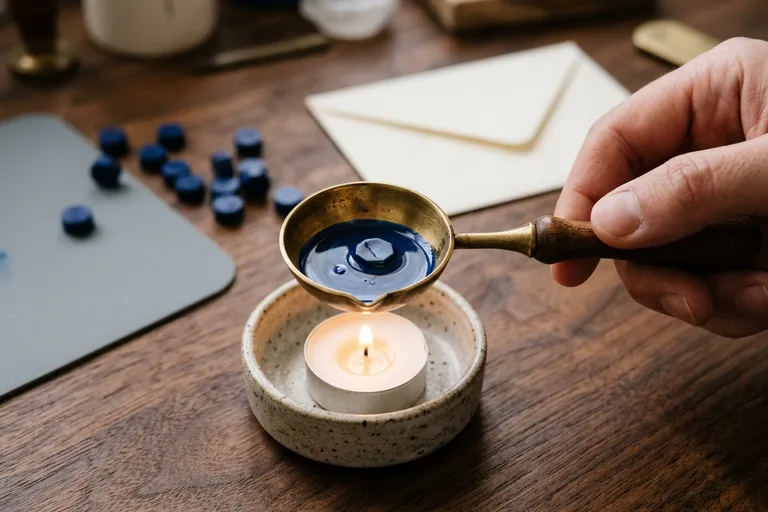
For one to ten letters or custom marbled mixes, a brass melting spoon over a tea light gives the best control. Hold the spoon by its insulated handle above—never buried in—the flame until the wax flows like warm, thick honey, then move it off the heat before it starts actively bubbling.
For dozens of consistent seals such as wedding invitations, a low-temperature glue gun with matching 7 mm or 11 mm sealing wax sticks is faster and cleaner on a silicone mat. For occasional letters with minimal gear, a wicked stick tilted gently near the clean edge of the flame drips directly onto the paper without a spoon.
3. Pour, press straight down, and let the wax set
Pour or dispense your melted sealing wax into a single round puddle slightly wider than the stamp face—either across an envelope flap seam or onto a heat-resistant silicone mat to make peel-and-stick seals ahead of time. Pause a brief moment if you see bubbles so the surface settles smoothly.
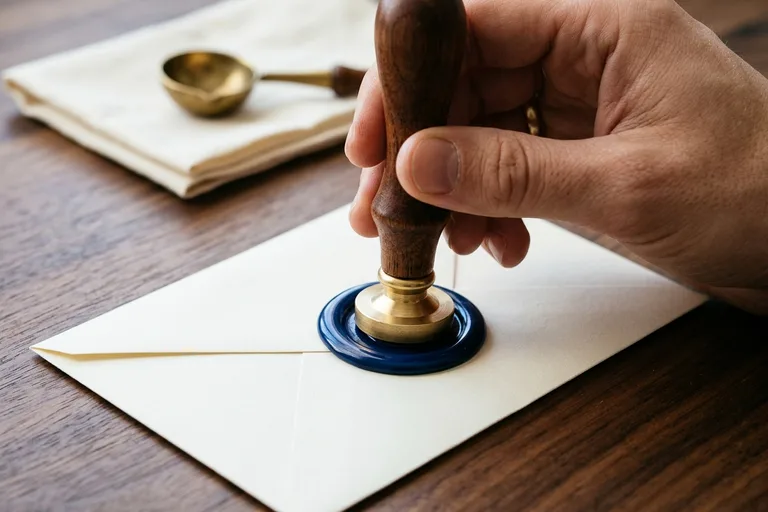
Between repeat impressions, chill the brass head on a wrapped ice pack so hot wax releases cleanly, and blot off every trace of condensation with a dry cloth. Check the top orientation mark on the handle, press straight down with light, even pressure without twisting, and lift straight up only once the edge no longer shifts when you nudge the handle.
4. Clean your tools and finish or mail your seals
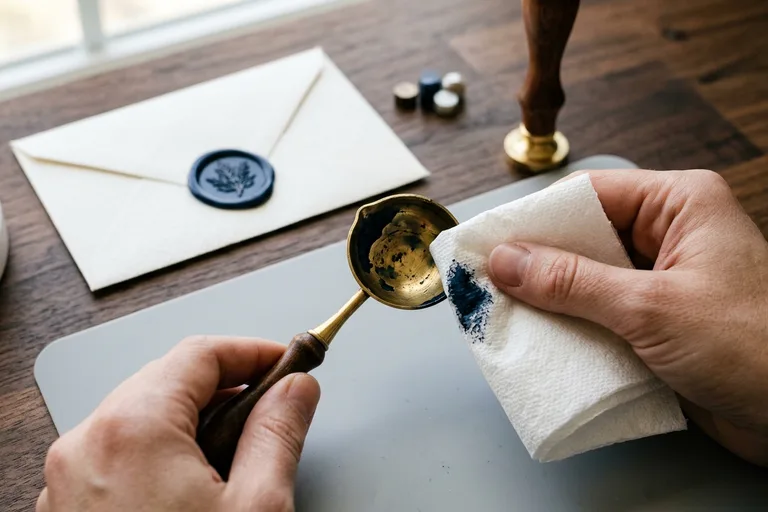
Cleanup is easiest right after your last pour. While the melting spoon is still warm and the leftover wax is liquid, fold a paper towel thickly to protect your fingers and wipe the bowl clean. If wax has already hardened, warm the underside briefly over the candle and lift the softened disc out with a wooden skewer. Clear any buildup on a brass stamp face with a cotton swab lightly dampened with rubbing alcohol.
For seals stamped onto a silicone mat, peel them off once fully cool and mount them onto envelopes, vellum, or ribbon using our guide to applying wax seals. Whenever flexible sealing wax goes into the postal system—especially for wedding invitations—tuck the decorated inner envelope inside a plain outer envelope and check postage at the counter.
Precautions and common pitfalls
Never overheat sealing wax
Boiling or smoking wax traps air bubbles, spreads too thinly, and takes longer to harden. Pull a melting spoon off the flame as soon as it flows like warm honey, and always use a low-temperature glue gun.
Keep flexible and traditional brittle wax separate
Traditional shellac wax snaps cleanly by design and can shatter in postal sorting machines. Reserve brittle wax for hand-delivered notes or packaging, and use flexible polymer-blend wax for mail.
Do not substitute crayons or standard hot glue
Crayons lack sealing-wax resins and turn greasy and crumbly, while regular high-temp craft hot glue runs too hot and rubbery for crisp detail. Always use dedicated sealing wax.
Keep moisture away from molten wax
Resting a brass stamp on an ice pack prevents sticking during repeat stamping, but water condensation left on the face pits and clouds the wax. Blot the head dry before every press.
Protect skin, wood, and paper from heat
Molten sealing wax burns fingers and stains porous wood or fabric. Work over a heat-resistant silicone mat, keep envelopes clear of open flames, and hold spoons strictly by their insulated handle.
Wipe spoons warm instead of scraping cold metal
Scraping cold, hardened wax with a knife scratches the spoon bowl and leaves rough spots that trap future wax. Wipe residue while warm with folded paper towel, or re-warm gently for a few seconds to pop the plug out.