How to Apply Wax SealsEnvelopes, vellum, and ribbon
A finished wax seal can be attached with a backing made for wax seals. Line it up over the seam on an envelope, check how a backing looks through vellum, and flatten ribbon so the adhesive has enough surface to grip.
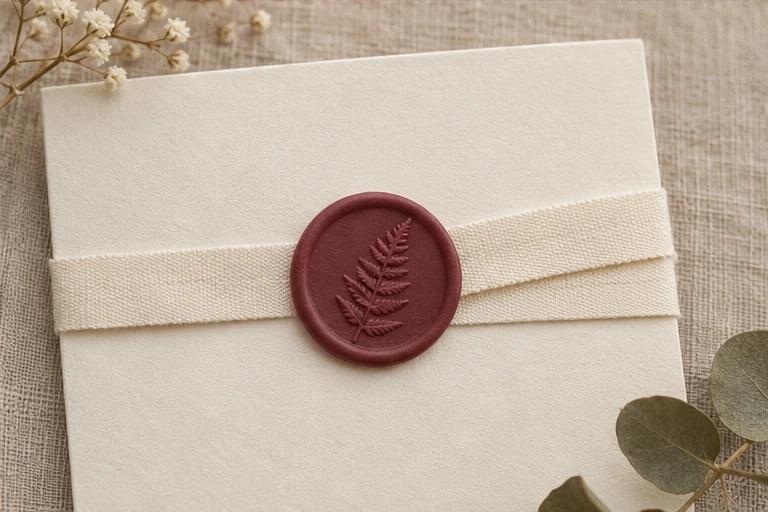 Play tutorial
Katrina Crouch demonstrates wrapping ribbon around an invitation and sealing the overlap. She also shows a vellum belly band near the end.
Four steps for applying a wax seal
1. Choose a flat spot for the adhesive
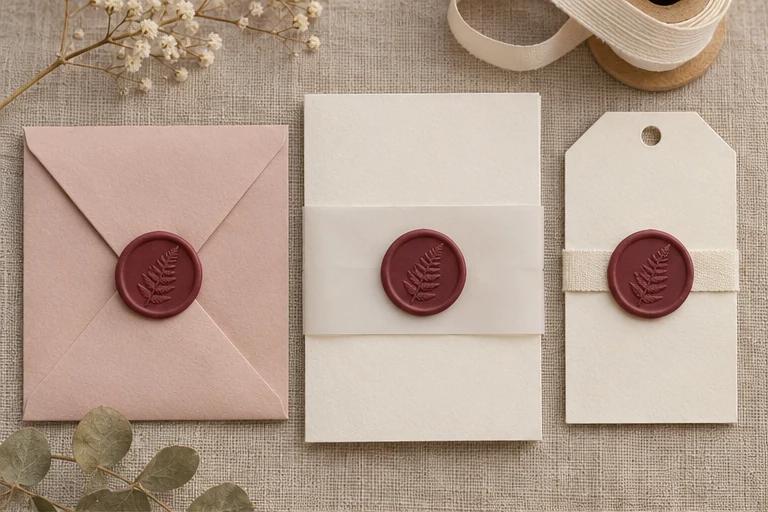
On an envelope, dry-fit the seal over the tip so it overlaps both the flap and the body. On cardstock or a gift box, use a flat area clear of corners and raised textures.
Test vellum from both sides. If a white backing shows through, try a clear one. For a removable paper band, keep the adhesive on the overlap so the card can slide out.
On ribbon, a crease or a narrow strip leaves less contact area. Test a seal on the same material, gently pull both ends, and check for lifting. A wider, flatter weave may work better.
2. Check the orientation and peel the liner
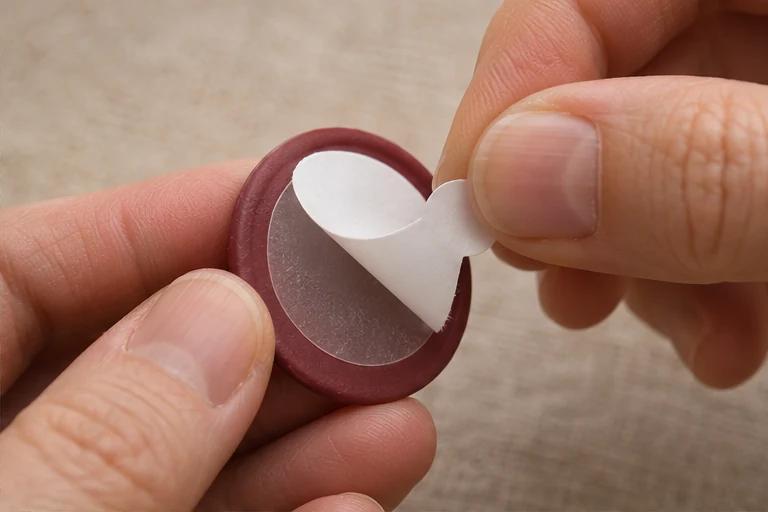
Place the seal over the intended spot while the liner is still on, and check which way the design faces. Lift it by the sides and peel the liner using the tab. Keep your fingers off the exposed adhesive.
For homemade seals made with a melting spoon or a wax seal stick, let the wax cool fully before adding a double-sided adhesive dot smaller than the seal. Press it onto the wax first and remove the second liner when ready. If the whole adhesive dot comes away with the liner, press it back down and peel from the edge.
3. Place the seal and press around the edge
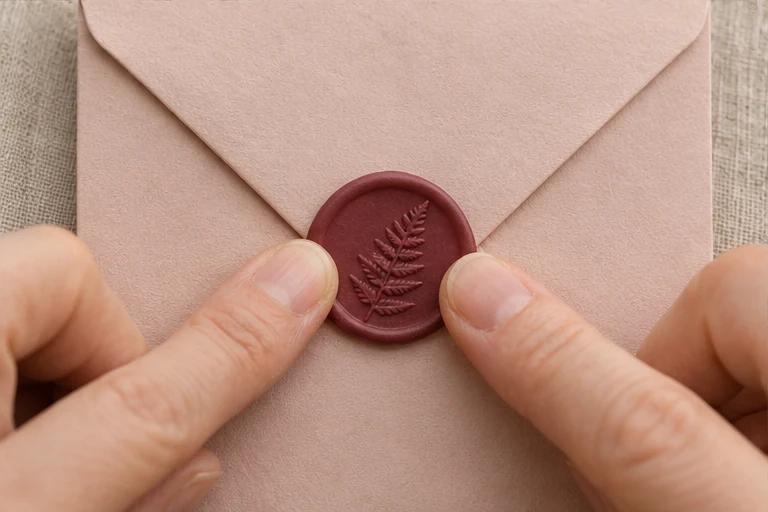
Work on a clean, dry surface. With the seal lined up, set it adhesive-side down, press the center lightly, and press around the rim. If the envelope will go in the mail, close it with its own adhesive first and add the wax seal as decoration.
Look at the seal from the side. If one edge lifts, check whether it bridges a bulky fold or a curved surface. Test another seal and a fresh backing in a flatter spot. Pulling a firmly pressed adhesive off thin paper can lift the fibers.
4. Bridge both ribbon ends on a removable band
Wrap the ribbon around the card with a little room to slide. Lay both ends flat and stick the seal over the overlap, where the backing can reach both ends. Any adhesive that sticks out past the ribbon can catch the card.
Slide the card out and back in. If the band comes off in one piece and the rim stays down, keep that fit. If the backing slips, try a flatter ribbon or use the hot-wax technique from the video. Slip a heat-resistant silicone strip between the card and the overlap, stamp across both ends, then remove the strip once the wax has set.