How to Use a Wax Seal Stamp for LettersYour first impression in four steps
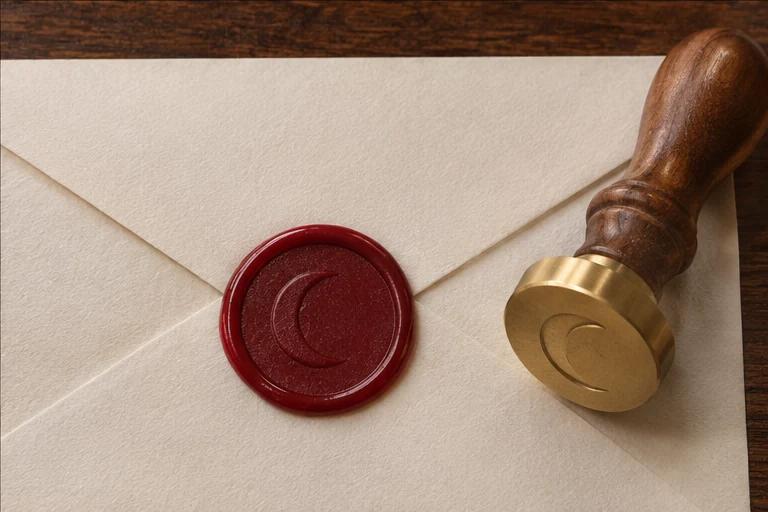
Melt sealing wax in a spoon and pour a small pool where the envelope flap meets the back of the envelope. Lower the stamp straight down and wait until the wax sets before lifting it. Practice on the same kind of envelope so you can adjust the amount before sealing your letter.
 Play tutorial
Katrina Crouch demonstrates melting wax in a spoon, drying the chilled stamp head, and releasing it. Watch for the moment the wax flows smoothly and the moment it stops moving with the handle.
Melt, pour, stamp, and lift
1. Set up and melt the wax
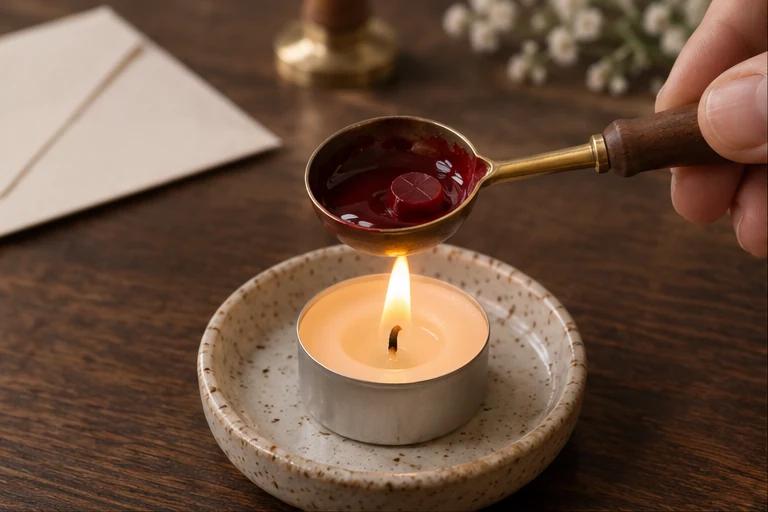
Set out sealing wax beads (or a wax seal stick if you prefer melting a stick instead of beads), a stamp, a spoon with a heat-resistant handle, a tea light on a heat-resistant base, and a dry cloth. Close the flap and lay the envelope flat away from the flame. Mark the top of the design on the handle if it is easy to turn upside down.
Bead sizes vary, so start with the wax maker’s amount for your stamp diameter. Hold the spoon above the flame by the handle until the wax flows smoothly. Move it away from the heat and let any active bubbling settle before you pour.
2. Pour over the tip of the flap
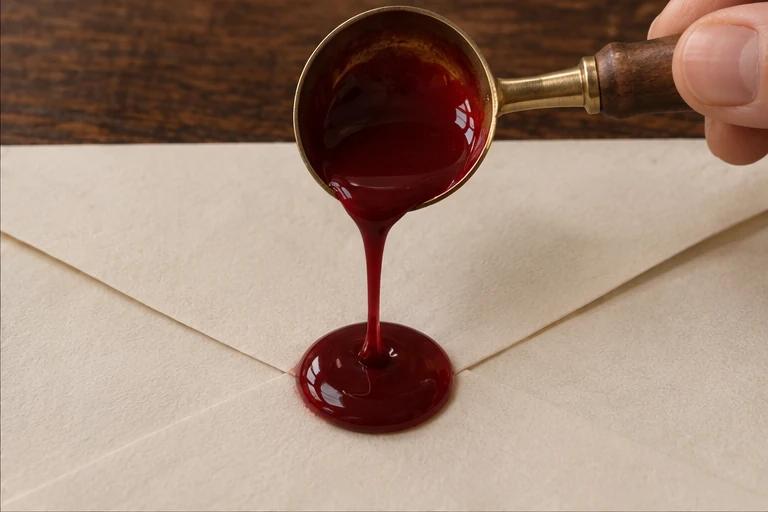
With the envelope face down, hold the spoon close to the paper and pour into one spot across the tip of the flap. Let the wax spread naturally onto the flap and the envelope below it.
Check your first impression. If the entire outer edge of the design is missing, add a little wax next time. If only one side is missing, center the stamp before changing the amount. If the rim is too wide all the way around, reduce the wax. Change one thing at a time.
3. Align the design and lower the stamp
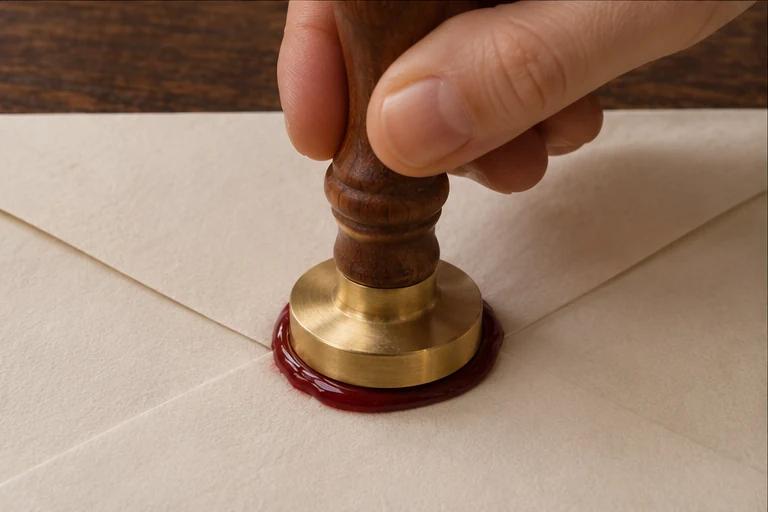
If you chilled the stamp on an ice pack, dry it with a clean cloth. Check the alignment mark, center the stamp on the pool, and press gently so the whole face makes contact.
Keep the handle upright and still while the wax cools. Turning or sliding the stamp after it lands can smear the impression. If you seal another letter, give the stamp head time to cool between impressions.
4. Wait for the wax to set before lifting
Touch the handle lightly. If the edge moves with it or the stamp starts pulling the wax upward, wait a little longer. Once the wax holds its shape, steady the envelope and lift straight up. Cooling time varies with the amount of wax and the temperature of the wax and stamp.
If the finish has pits or bubbles, check for condensation on the stamp and for bubbling wax before the next pour. A slightly irregular rim is fine when the design is clear and the seal holds both sides of the flap seam.