How to Add Wax Seals to Wedding InvitationsFrom one sample to a full batch
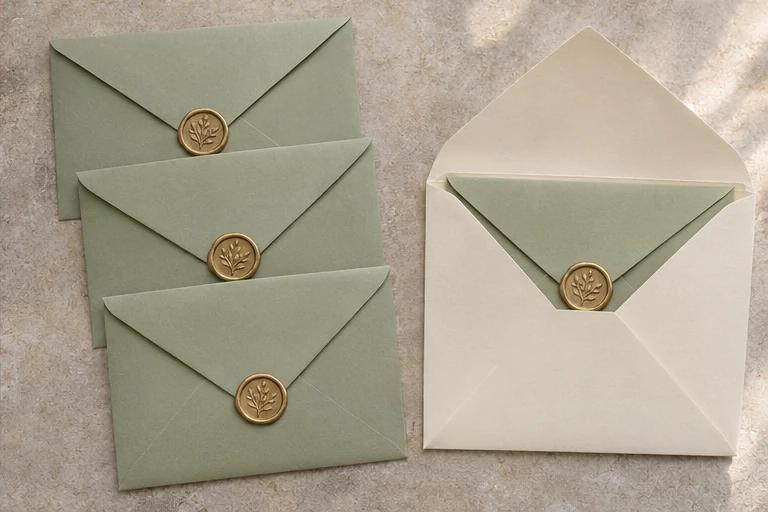
Assemble one complete invitation suite before deciding where the wax seal goes. For a few dozen invitations, make the seals on a silicone mat and attach the best ones to the inner envelopes. If an impression comes out crooked, you only have to remake the seal.
 Play tutorial
Stationery designer Katrina Crouch demonstrates dispensing wax with a glue gun, pressing the stamp, and lifting it. The hands-on demonstration starts at 2:51.
Four steps for a batch of wedding invitations
- Assemble one complete invitation and check the seal position and thickness.
- Dispense a test puddle on silicone and set the wax amount for your stamp.
- Stamp one at a time, cool the seals, and sort the finished batch.
- Apply the seals in the same position and pack the decorated envelopes inside plain outer envelopes.
1. Make a sample with your actual stationery
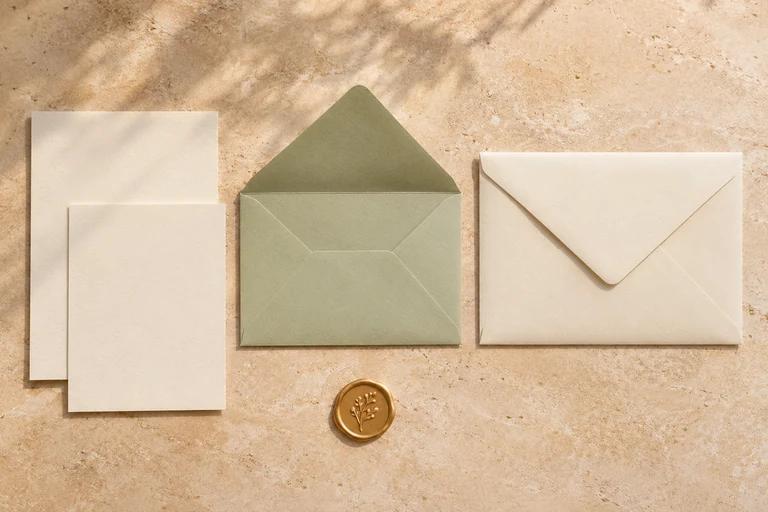
Put the invitation and every enclosure into the inner envelope. Dry-fit a wax seal over the tip of the flap so it touches the flap and the paper below it. If you use a vellum wrap or belly band, try the seal over that overlap instead.
Slide the sample into the outer envelope, close it, and feel for a bump. If the flap strains or the inner envelope catches, try a thinner seal or move it away from the thickest overlap of paper. Keep this sample beside you as you assemble the rest.
2. Find a repeatable amount of wax
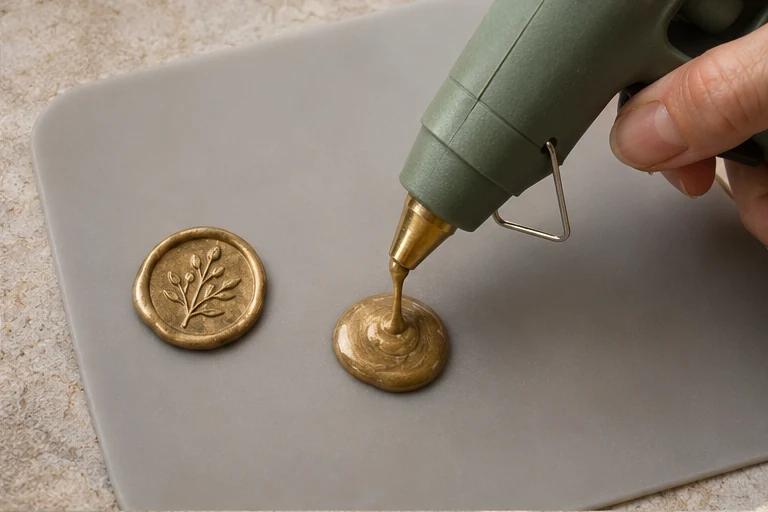
Gather glue-gun sealing wax sticks that fit your gun, a stamp, a heat-resistant silicone mat, a dry cloth, and double-sided adhesive made for wax seals. Preheat the gun as directed, bring the nozzle close to the mat, and dispense a small pool in one spot.
Press a test seal, let it cool, and peel it off the mat. An incomplete ring all the way around calls for a little more wax. A missing edge on one side usually calls for better centering first. Note how far you pulled the trigger when the design and narrow rim came out cleanly.
3. Stamp in small batches
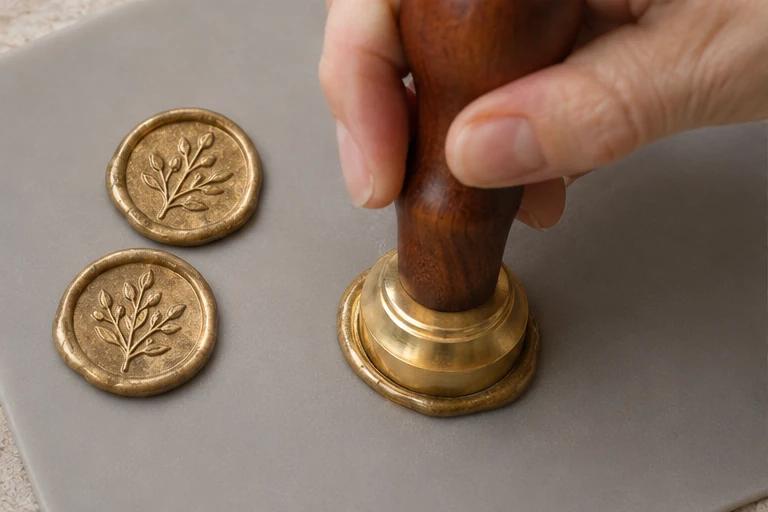
Dispense one seal’s worth of wax, then stamp immediately. Put a small alignment mark on the handle if the design has a clear top. If the stamp gets warm and starts sticking, chill the head briefly on an ice pack and wipe away condensation. Lift the stamp straight up once the wax sets.
Sort for crisp designs, intact rims, and similar thickness. If one stick yields seven usable seals in your test, 60 envelopes plus six spares take about ten sticks. Allow a little extra for sealing wax left in the gun.
4. Attach the seals and check the postage
Stick a wax-seal adhesive dot to each fully cooled seal. Close the filled envelope, place the seal where you marked it on the sample, and press around the edge. Pack and check one complete invitation before working through the guest list.
In the United States, USPS advises putting envelopes with exposed wax seals, ribbons, or string inside another envelope. Take a fully assembled invitation to the counter before mailing the batch so staff can check its weight, thickness, flexibility, and postage. The seal still adds thickness inside the outer envelope.